
Do it yourself AKA DIY Part 5
Posted on: December 9, 2015, by : deck
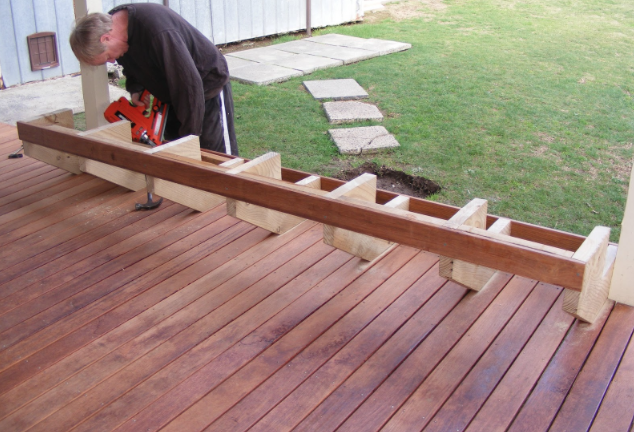
Once you have determined what spacing is required, begin with a nail at the center of one of the outer joists and measure along the ledger making a clear mark at your spacing (again we stated twenty four inches is adequate). Making additional marks (three quarters of an inch) to the left or right side will allow you to locate the hangers on the ledger board. Using a square, draw straight down across the ledger and, since your joist hangers will be nailed here it is imperative that these marks be straight. Make all of your marks and then begin nailing joist hangers using the nails provided with them. Nail only on one side until to assure proper spacing. It’s very easy to put the joist and the joist hanger on the wrong side of the mark!! Now insert your joists into the joist hangers (no need to cut them to size first), remembering to place any bowing towards the top and outside of the deck. You can now secure the other side of the joist hanger to the joist and the ledger board. If you live in an area that is subject to heavy amounts of snowfall, you may want to consider placing galvanized metal flashing on the top of each joist before you begin placing your deck boards. The flashing will prevent water from becoming trapped between the decking and the joists which can help prevent rotting.
Well, you’ve come a long way!! You’re now ready to begin installing your decking boards, which is the easiest part of the job and not only does it go quickly, but it’s exciting because you know you are nearing the end!
The first thing you want to do is lay out all of your decking boards and see how they’re going to look. It’s recommended that the better looking boards be used in high visibility areas. You should look at both sides of each board; some will be better on one side than the other and determine which side you want ‘face up’. If there are badly bowed pieces, don’t use them at all; exchange them, because if you use them, they’re going to look crooked once they’re laid down.
When you begin laying your decking boards, you are going to want to start at the wall and work out from there. The first thing you are going to want to do is to use the straightest board you have, because this board is going to affect every other piece of wood that you lay down. Make sure when you place this board that you leave a small gap to allow water to drain down the wall. If your deck isn’t too wide, and it’s possible to find pieces that will span the entire width of the deck, which would be preferable. Normally boards that are larger than twelve feet tend to be more crooked – therefore if you are using smaller pieces, keep in mind they need to join over the center of the joist to provide a solid nailing surface for each piece. It is best to stagger the joints so that they do not all run down one side of the deck.